Once your agent answers well in the playground, add it to your website. It takes one script tag. The widget loads asynchronously, stays under 60 KB and runs in an isolated Shadow DOM, so it won't slow down your pages or clash with your styles.
Before you start
- Publish the agent. The widget only loads for a
liveagent. See Drafts and publishing. - Allow your domain. On the Security tab, the Domain allow-list must include your site, e.g.
https://www.acme.example. The domain you entered when creating the agent is already there.
Add the script tag
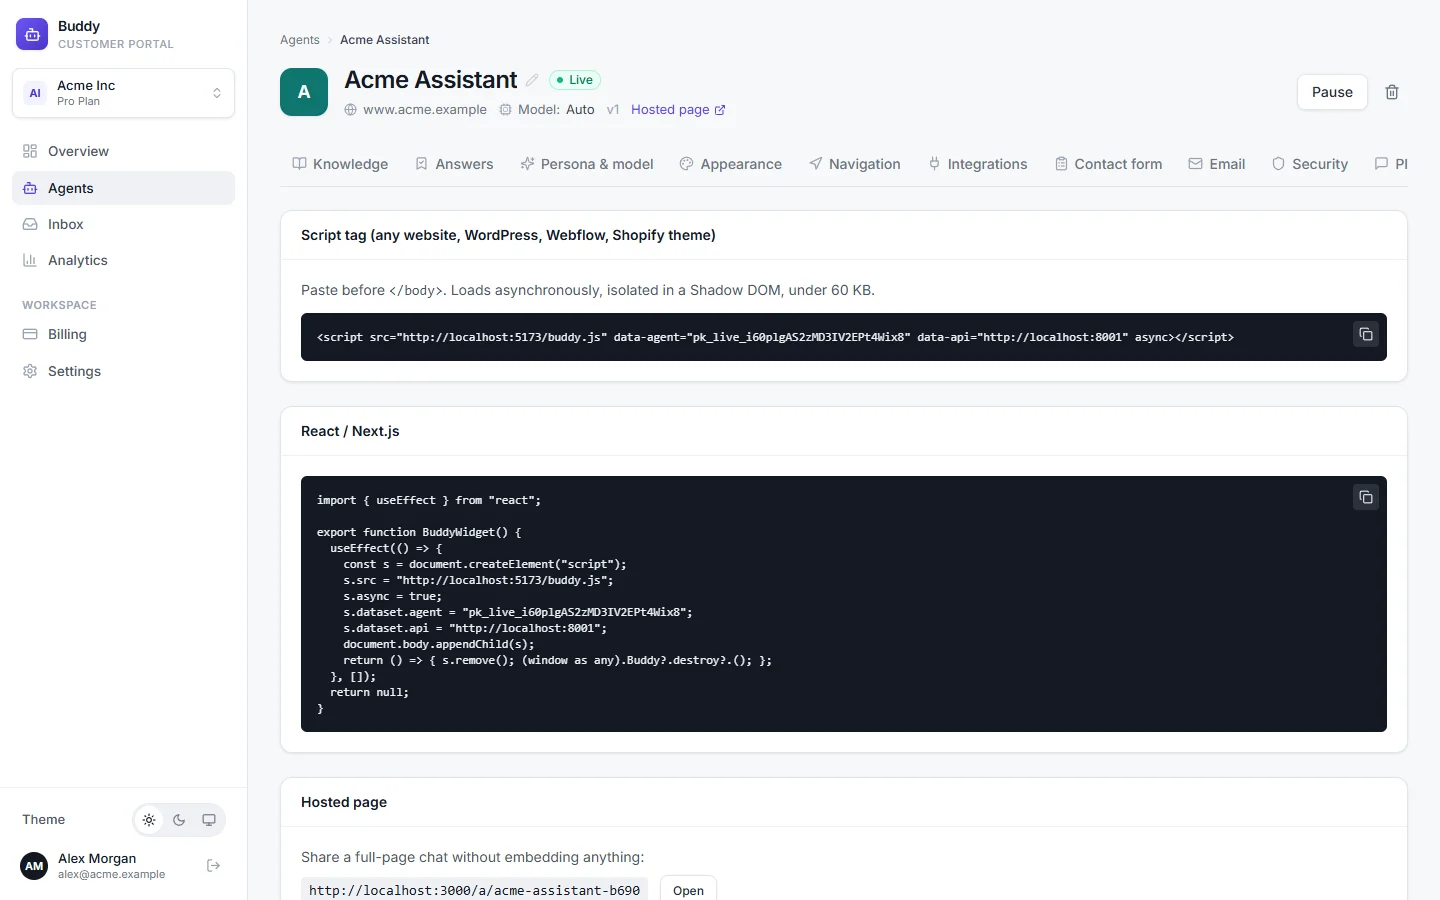
Open the agent's Embed tab and copy the snippet
It contains your agent's public key (
pk_live_…) and looks like this:Script tag<script src="https://…/buddy.js" data-agent="pk_live_…" data-api="https://…" async></script>Paste it just before the closing
</body>tag on every pagePut it in your site's shared footer or layout template so it appears everywhere.
Reload your site
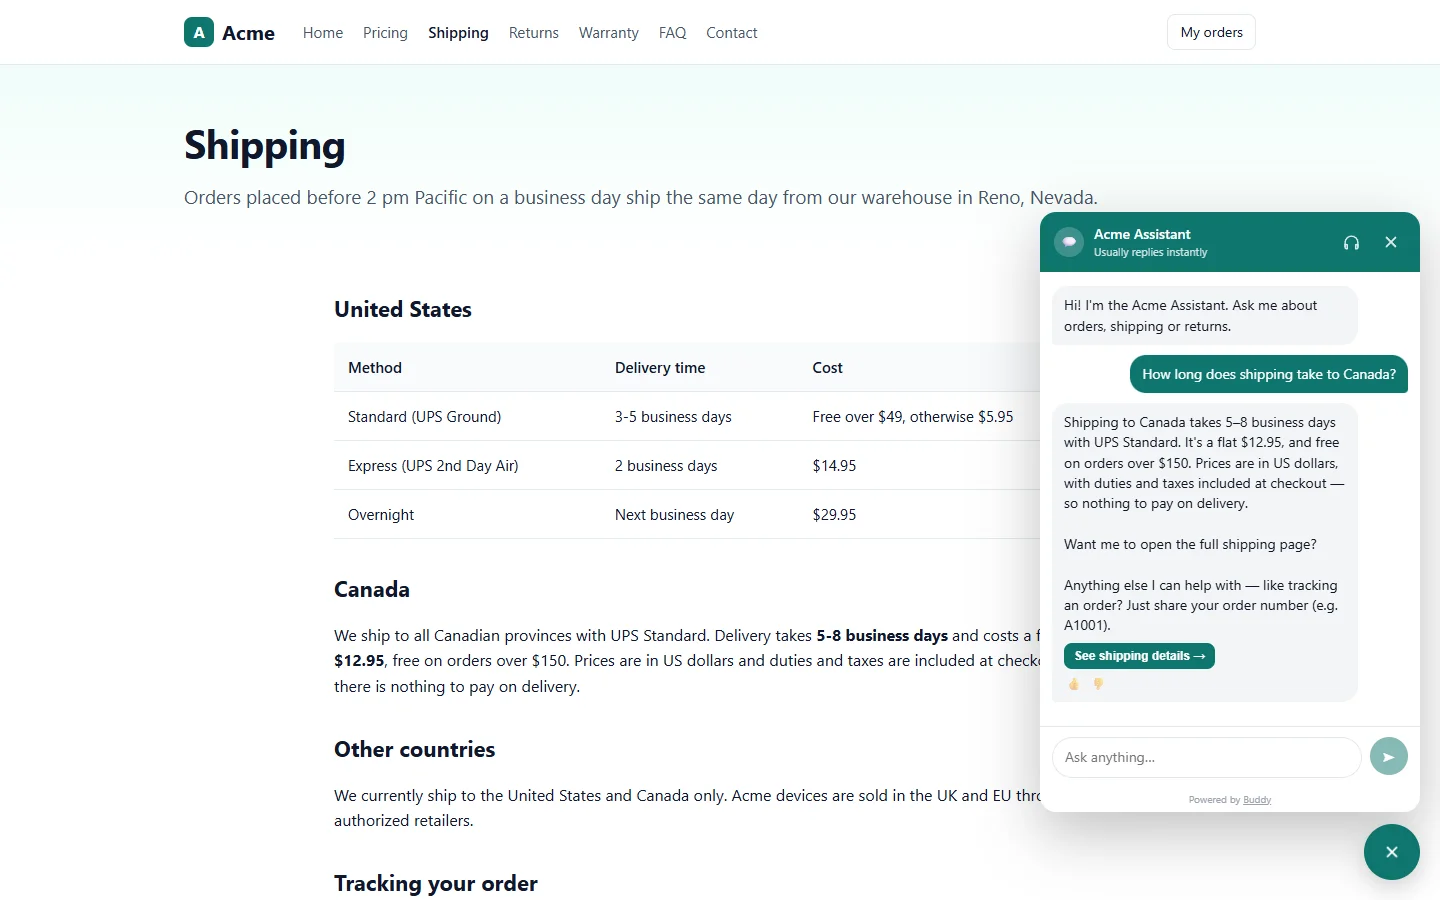
The launcher appears in the corner. Click it and ask a question.
Where to paste it on popular platforms
Buddy doesn't need a plugin. On any platform that lets you add custom code to every page, paste the snippet before </body>:
| Platform | Where to look |
|---|---|
| Plain HTML | Your shared footer or layout file, before </body>. |
| WordPress | Your theme's footer (footer.php), or any header-and-footer code plugin you already use, in the footer section. |
| Shopify | Online Store → Themes → Edit code → theme.liquid, before </body>. |
| Webflow | Site settings → Custom code → Footer code. |
| Wix, Squarespace and others | The site-wide custom code or code injection setting, in the footer or body-end position. |
Platform menus change from time to time. If you can't find the setting, search your platform's help for “add custom code to footer”.
React and Next.js
In a React app, load the script from a small component and render it once, for example in your root layout:
import { useEffect } from "react";

export function BuddyWidget() {
  useEffect(() => {
    const s = document.createElement("script");
    s.src = "https://…/buddy.js";      // copy these three values from the Embed tab
    s.async = true;
    s.dataset.agent = "pk_live_…";
    s.dataset.api = "https://…";
    document.body.appendChild(s);
    return () => { s.remove(); (window as any).Buddy?.destroy?.(); };
  }, []);
  return null;
}
In Next.js, add "use client" at the top of this file and render <BuddyWidget /> in app/layout.tsx. The Embed tab shows this component with your values filled in. So that page changes don't reload the browser, also register your router with Buddy.setNavigator. See single-page apps.
Hosted page
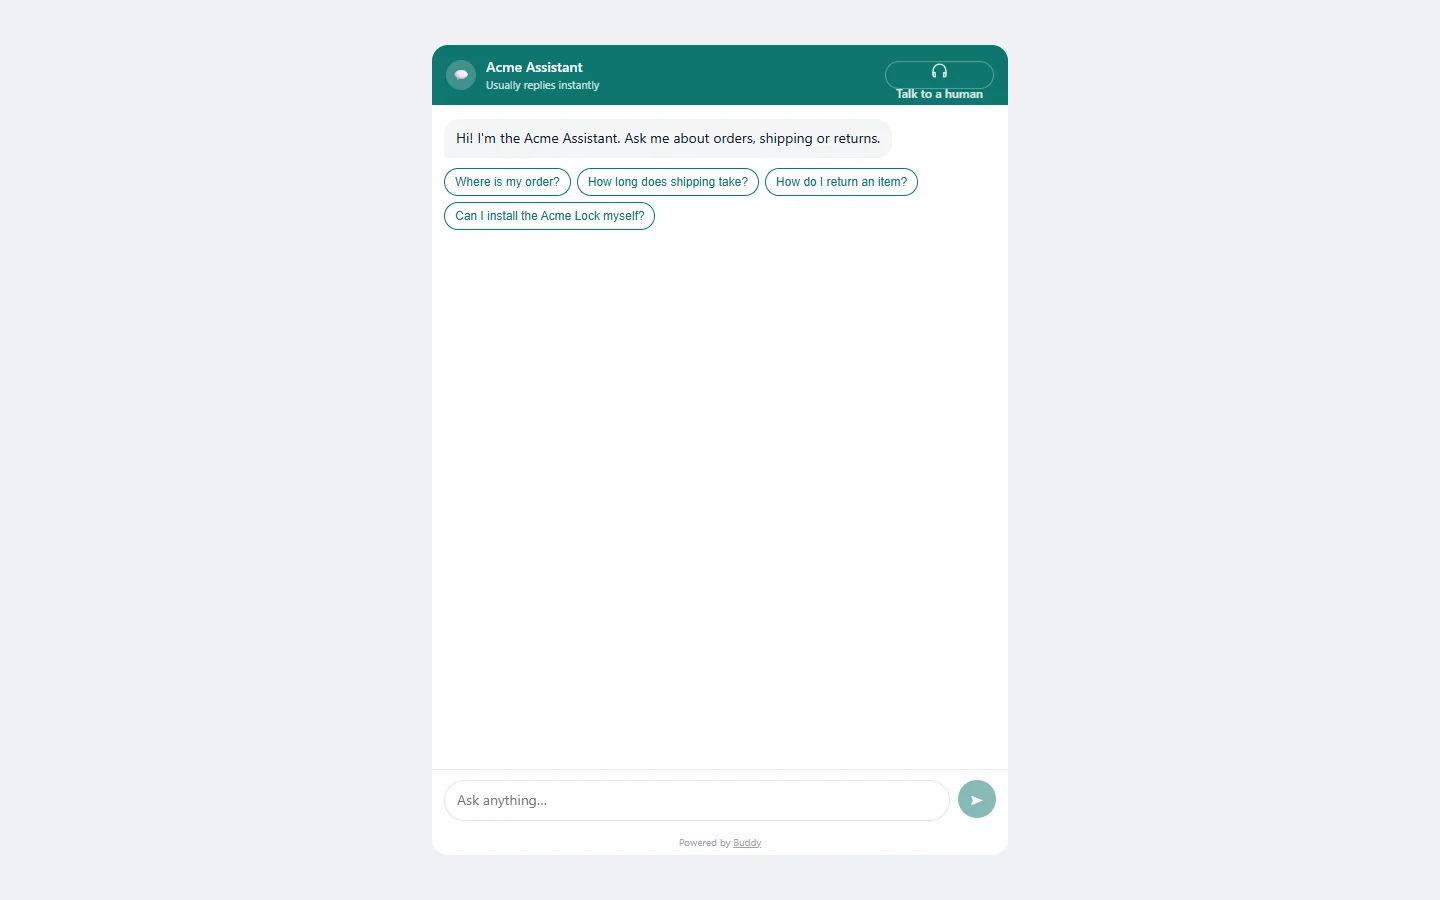
Every agent also has its own full-page chat at a link like …/a/acme-assistant. Share it in emails, QR codes or your help centre, or use it before the widget is on your site. Find the link and an Open button on the Embed tab.
The hosted page is on by default. To turn it off, clear Enable hosted chat page (share link) on the Security tab. Links the agent suggests open in a new tab from the hosted page.
JavaScript API
After the script loads, window.Buddy lets you control the widget from your own code:
open()- Opens the chat window.
close()- Closes it.
identify(token)- Passes a signed token for a logged-in visitor. See verified visitor identity.
setContext(obj)- Adds details about the page or visitor to what the agent knows. Values are merged.
setNavigator(fn)- Routes in-site navigation through your app's router. Pass null to remove it.
on(event, fn)- Listens for
"ready"(the widget loaded) or"action"(the agent wants to navigate). Returntruefrom an action handler to handle it yourself. destroy()- Removes the widget from the page.
// Open or close the chat window, e.g. from your own "Help" button
window.Buddy.open();
window.Buddy.close();

// Tell the agent more about the page (merged with what it already knows)
window.Buddy.setContext({ plan: "Acme Home Hub owner", page: "checkout" });

// Run code once the widget is ready
window.Buddy.on("ready", () => console.log("Buddy is ready"));

// Handle agent actions yourself (return true when handled)
window.Buddy.on("action", (a) => {
  if (a.type === "navigate") { myRouter.go(a.url); return true; }
});

// Route in-site navigation through your app's router
window.Buddy.setNavigator((url) => router.push(url));

// Remove the widget from the page
window.Buddy.destroy();Script tag options
Besides data-agent and data-api, you can add data-mount="#css-selector" to place the widget inside a specific element on your page instead of at the end of <body>.
Troubleshooting
If the widget fails to load, it stays hidden and writes a line starting with [Buddy] not loaded: to your browser's console. Open DevTools → Console to see the reason.
›"This domain is not allowed to use this agent"
Add your site's exact origin to the Domain allow-list on the Security tab, including the scheme: https://www.acme.example and https://acme.example are different origins. Use https://*.acme.example to allow all subdomains, and add http://localhost:3000 (or your port) for local development.
›"This agent is not live"
The agent is still a draft or is paused. Click Publish in the agent header.
›The hosted page says it's unavailable
Switch on Enable hosted chat page (share link) on the Security tab, and make sure the agent is published.
›Nothing in the console at all
The script tag probably isn't on the page. View the page source and search for data-agent. Some caching or optimisation plugins strip or delay scripts; exclude Buddy's script from them.
›Visitors are blocked by region or network
Check the IP rules and Country rules on the Security tab (Pro).